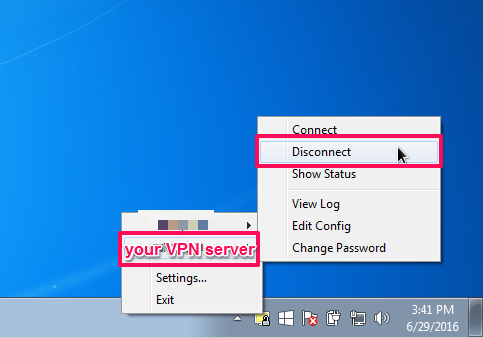
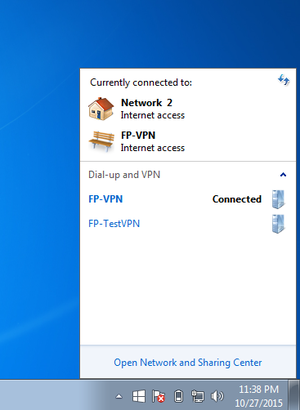
This article will show you how you can anonymize your uTorrent downloads using a SOCKS5 proxy. For best performance, make sure to turn any active VPN connections OFF before using socks5.
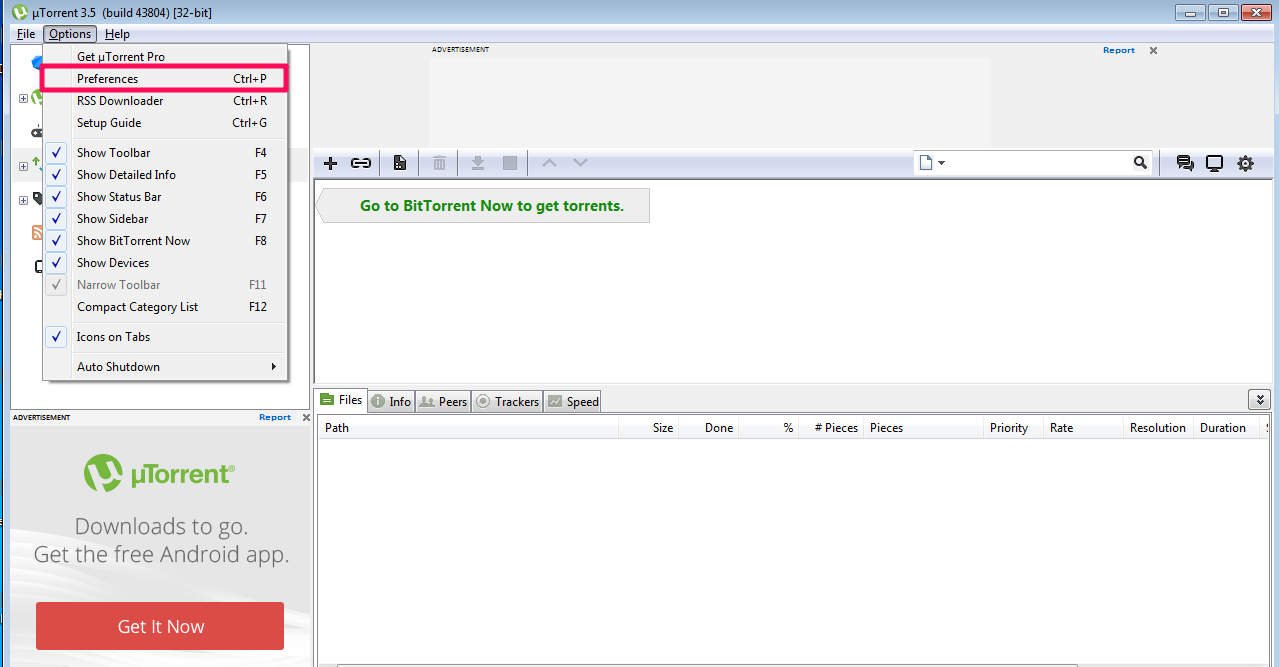
- The first step is to launch the uTorrent program.
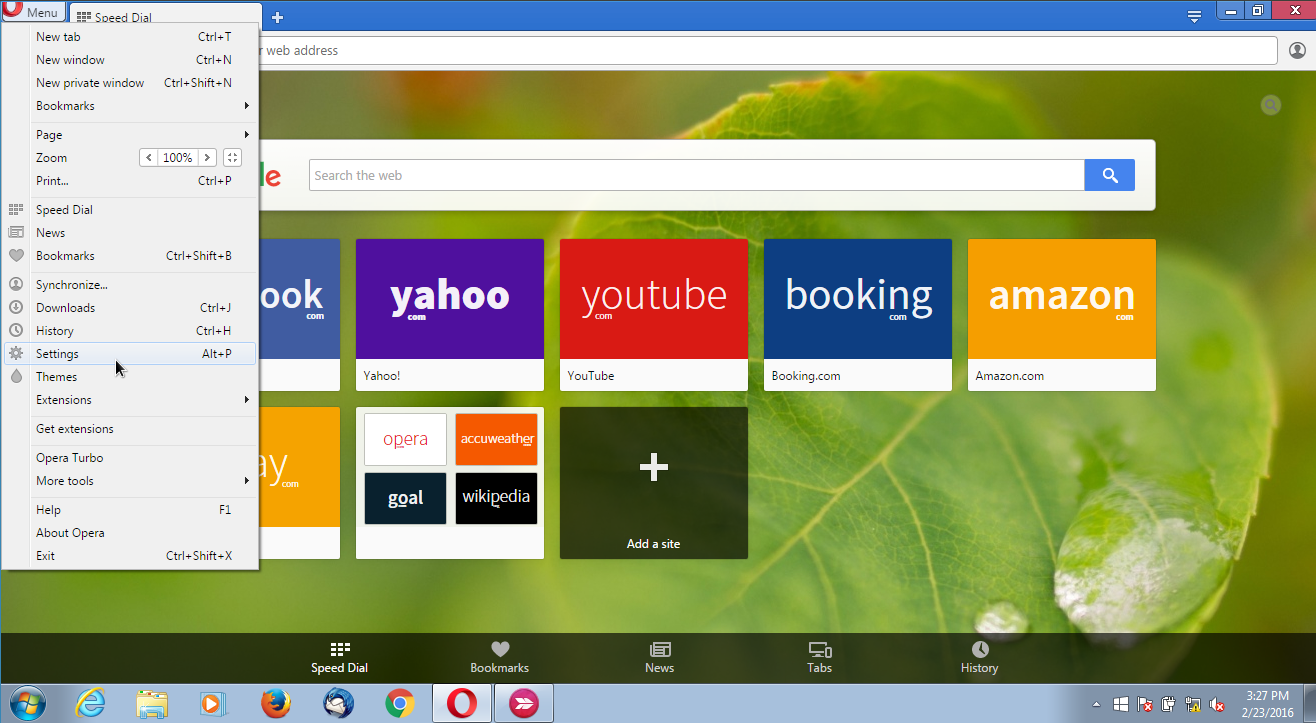
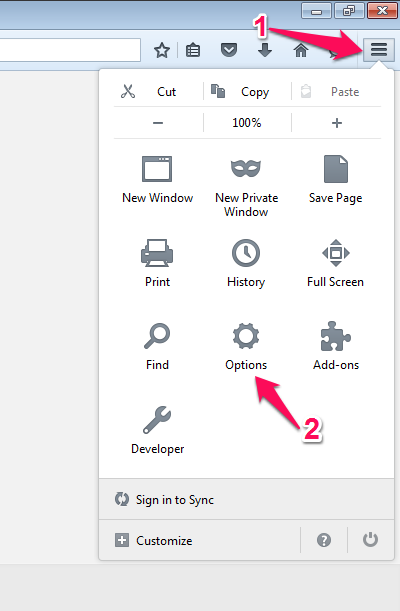
- Next, go to Options > Preferences.
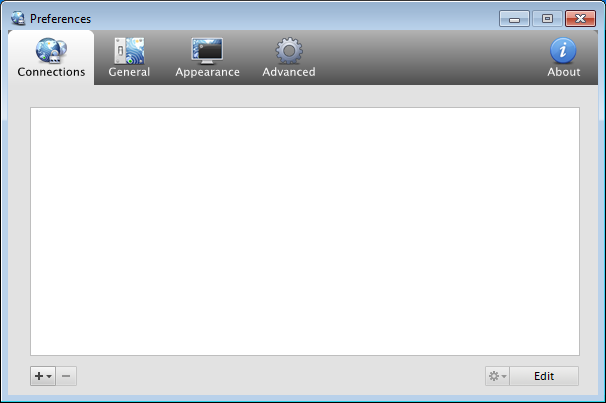
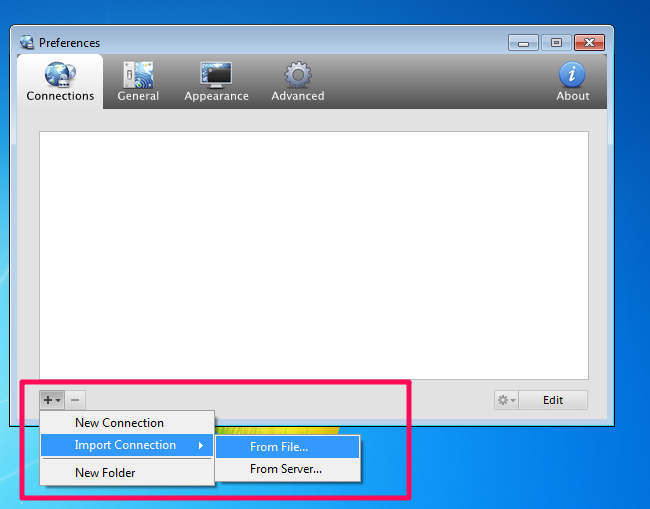
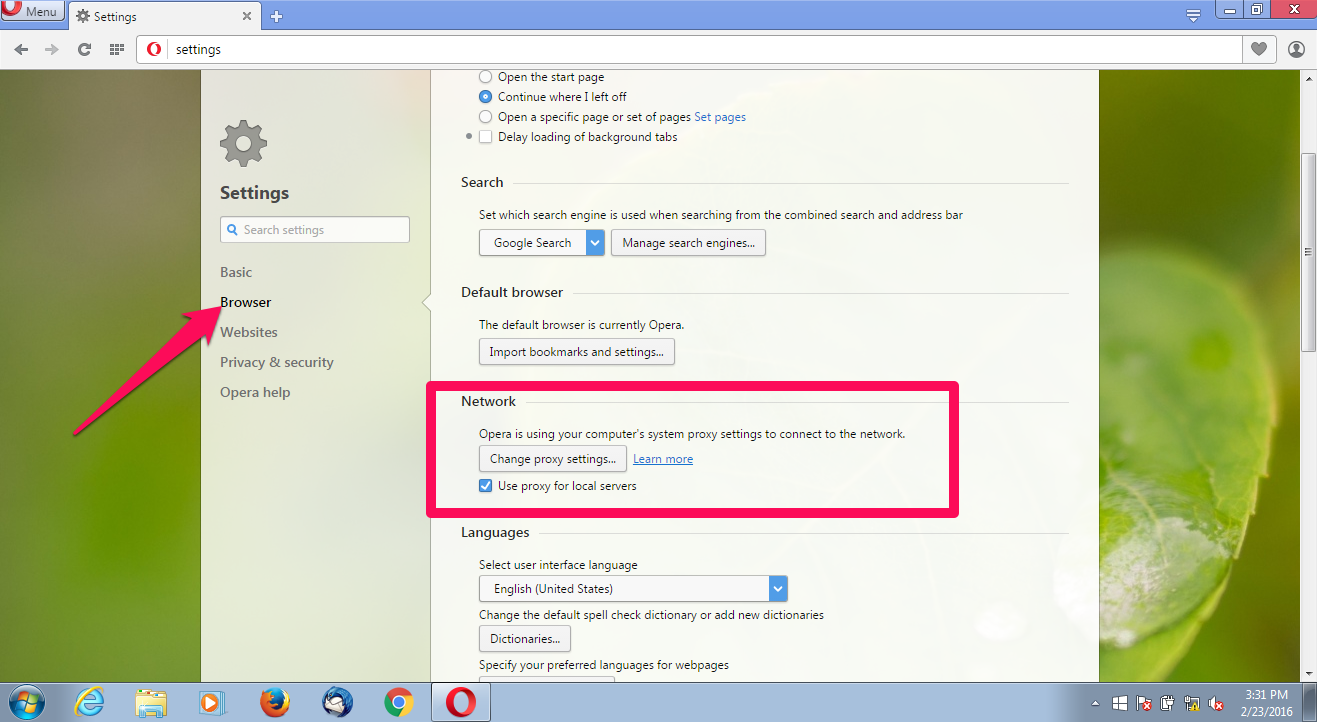
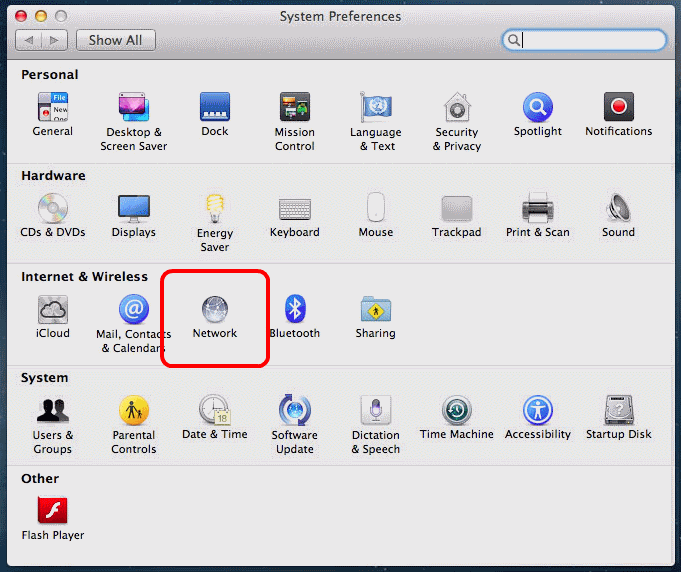
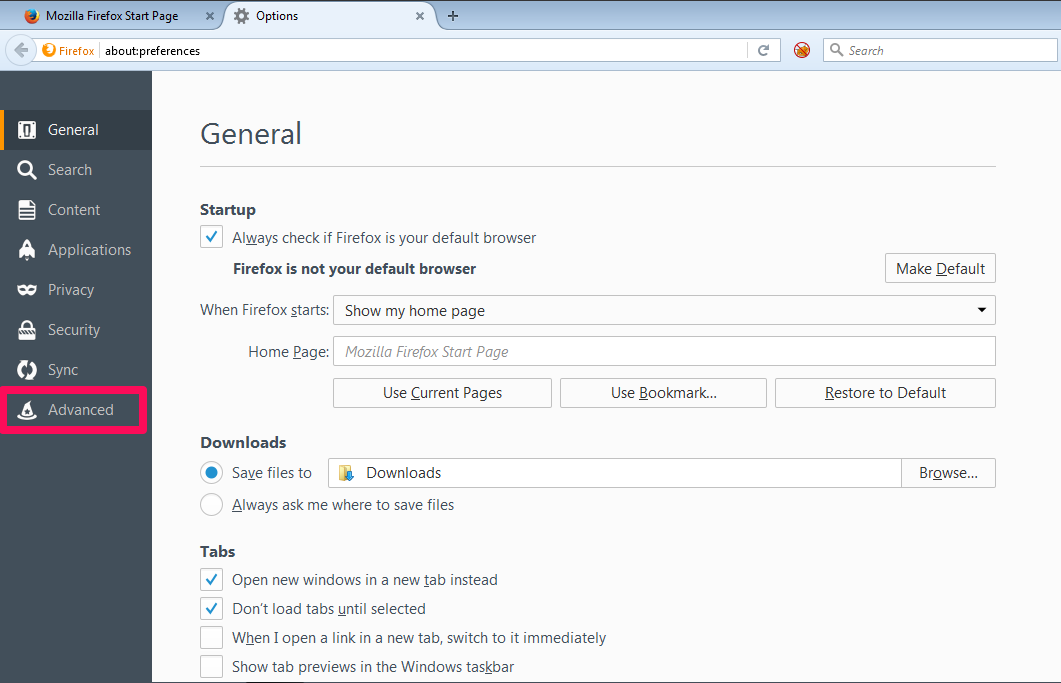
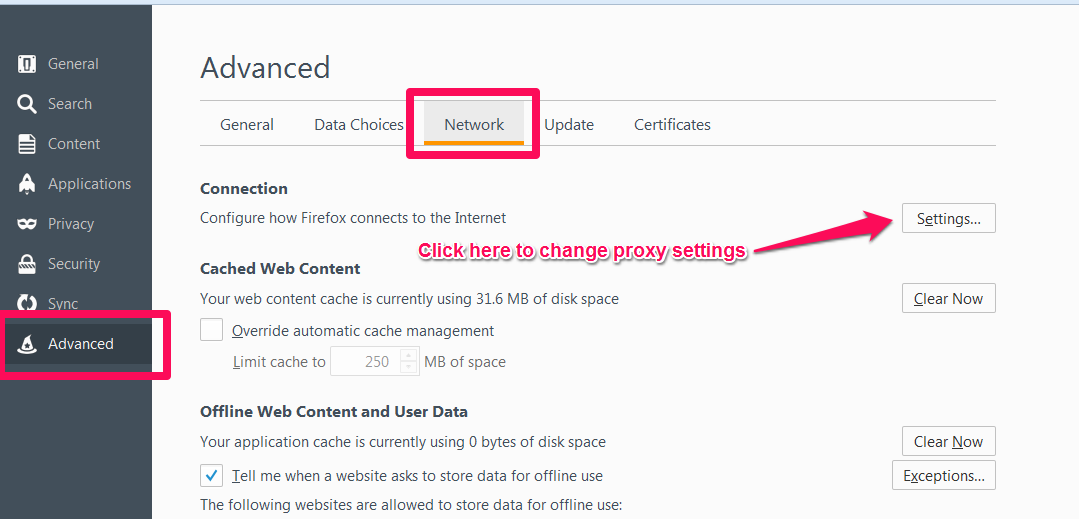
- In the Preferences window, click on Connection.
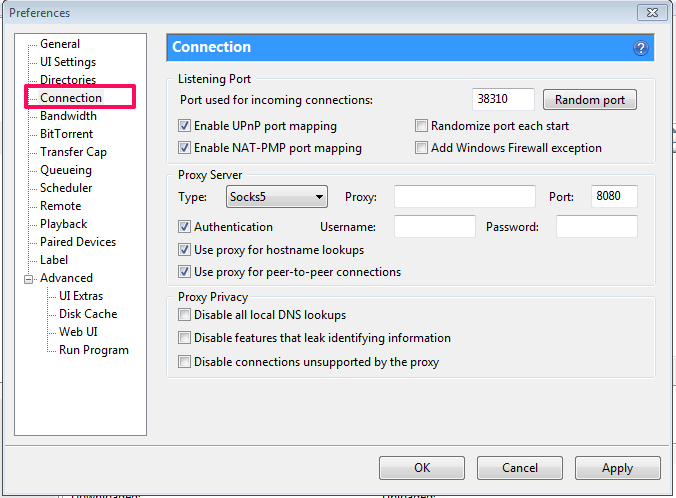
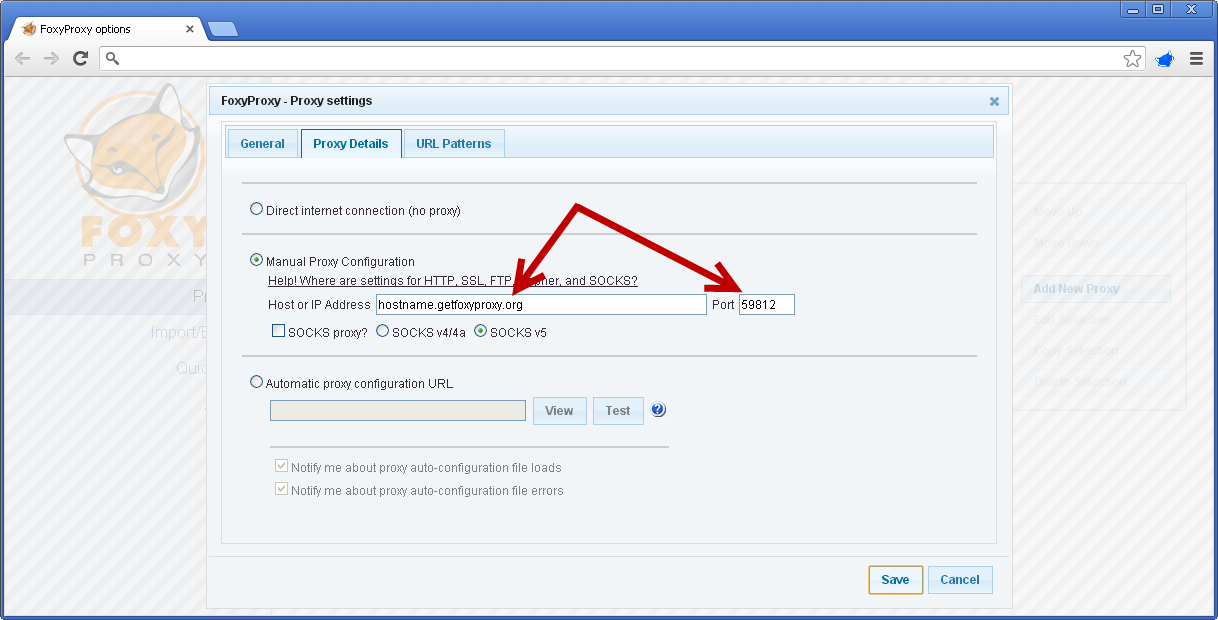
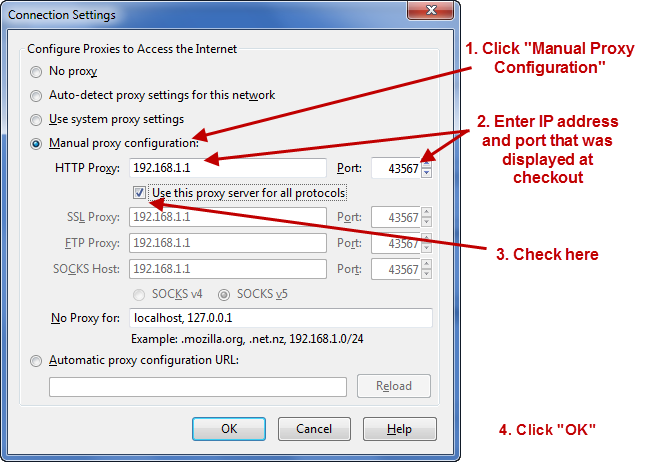
- Under Proxy Server Type, select Socks5 and enter your proxy address in the Proxy: field.
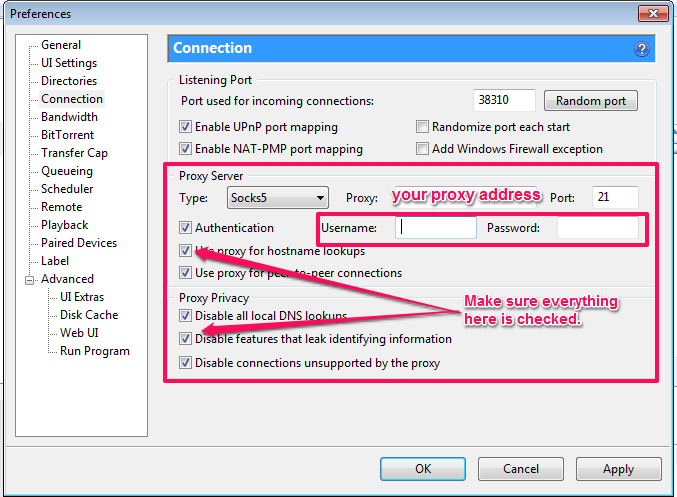
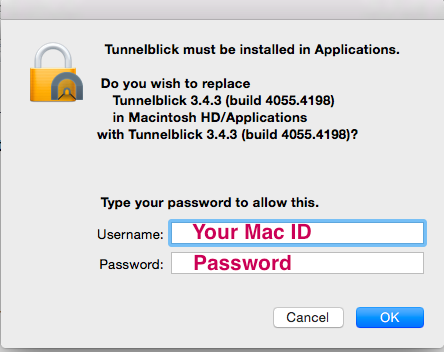
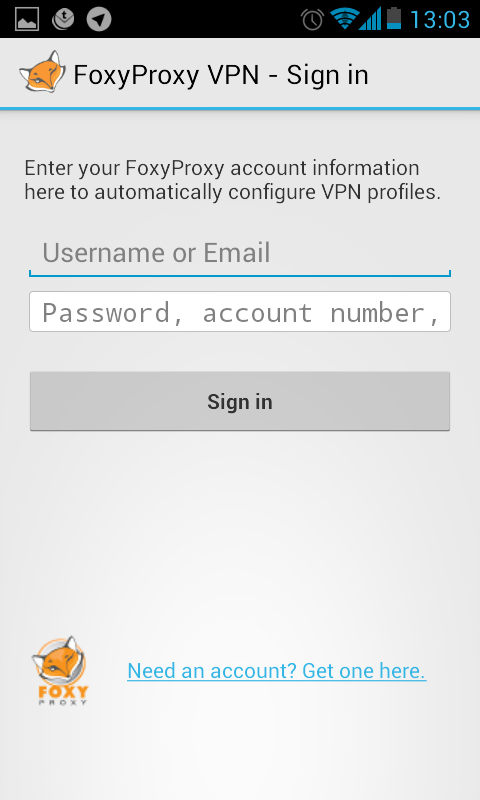
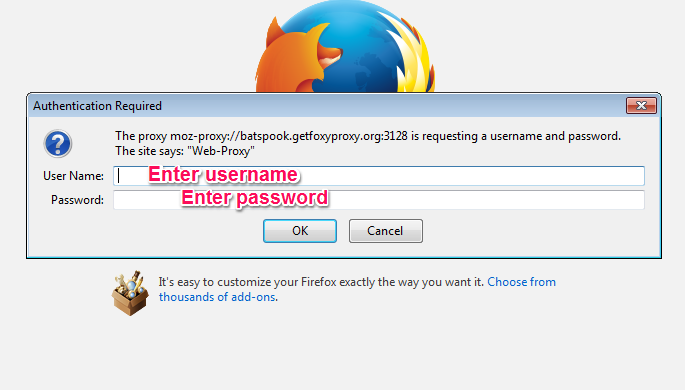
- Type your FoxyProxy Username and password in the Username and Password boxes.
- For Port type 21 and make sure you tick the following boxes:
- Authentication
- Use proxy for hostname lookups
- Use proxy for peer-to-peer connections
- Disable all local DNS lookups
- Disable features that leak identifying information
- Disable connections unsupported by the proxy.
It is critical that these boxes are all ticked. Authentication allows you to use the proxy and the other options ensure that all uTorrent communication uses the proxy, not your normal connection and that your IP address isn’t accidentally leaked.
DHT Settings(Optional)
DHT (Distributed Hash Table) technology allows you to find additional peers you can download from. Enabling DHT will allow you to download from more peers(maximum speed) but could potentially leak your IP address. We will show you recommended settings for DHT enabled and DHT disabled:
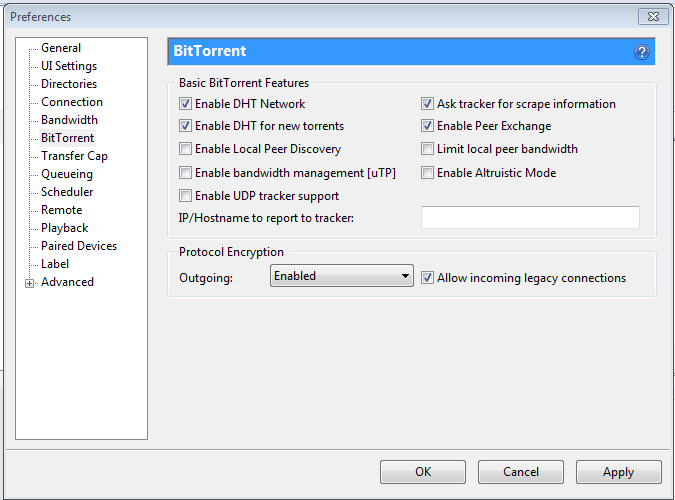
To enable/disable DHT go to theBittorrent tab in the Preferences.
Enable DHT:
For faster torrents, change your settings to look like this:
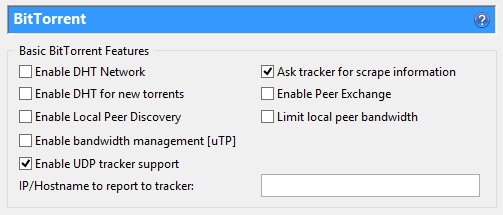
DHT Disabled(More Secure)
Change your settings to match these:
Encryption:
uTorrent has built in encryption ability that prevents your Internet Provider from seeing what you’re downloading.. The downside of this method, is if you want to force encryption for all connections, you will only be able to connect to other peers that have encryption enabled as well
- Forced Encryption (More secure, reduced # of peers)
- Enabled Encryption (Less secure, all peers available)
The Encryption settings are at the bottom of the BitTorrent options tab, Go to Menu > Options > Preferences > BitTorrent (tab) to access them.
Forced Encryption settings:

Enabled Encryption Settings:

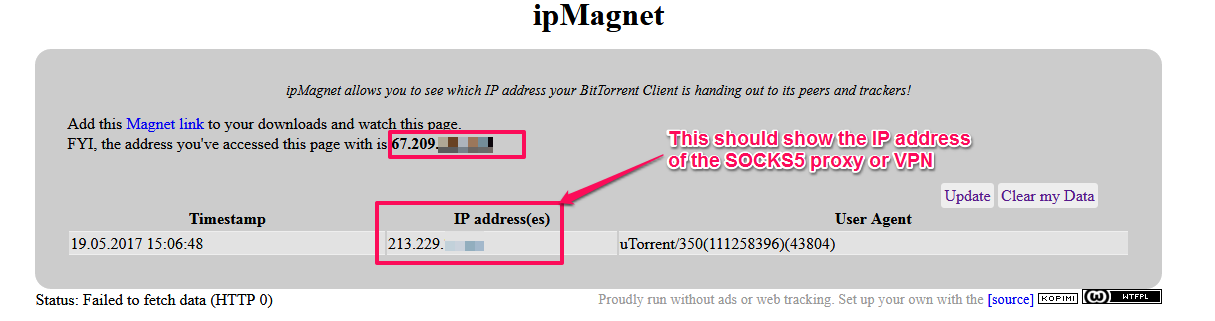
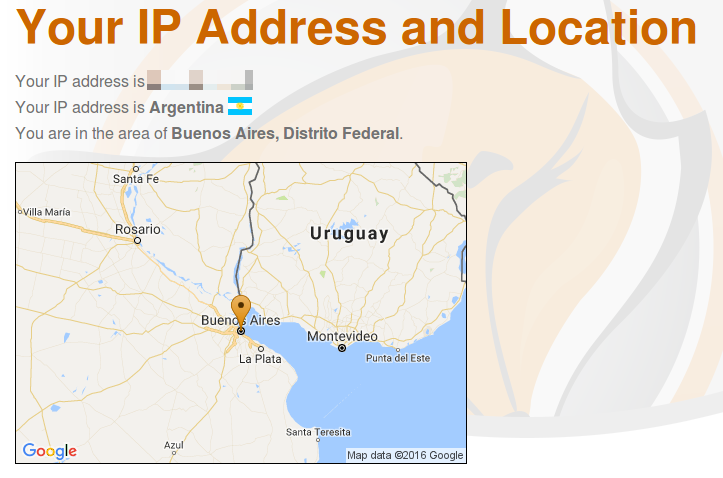
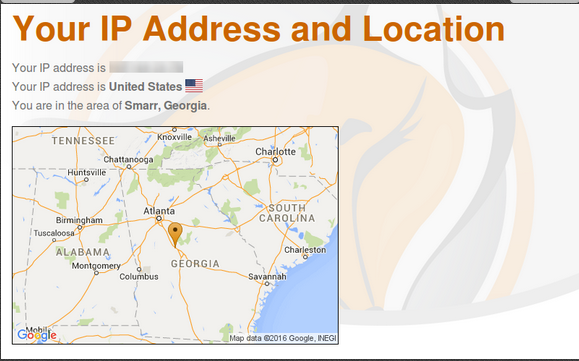
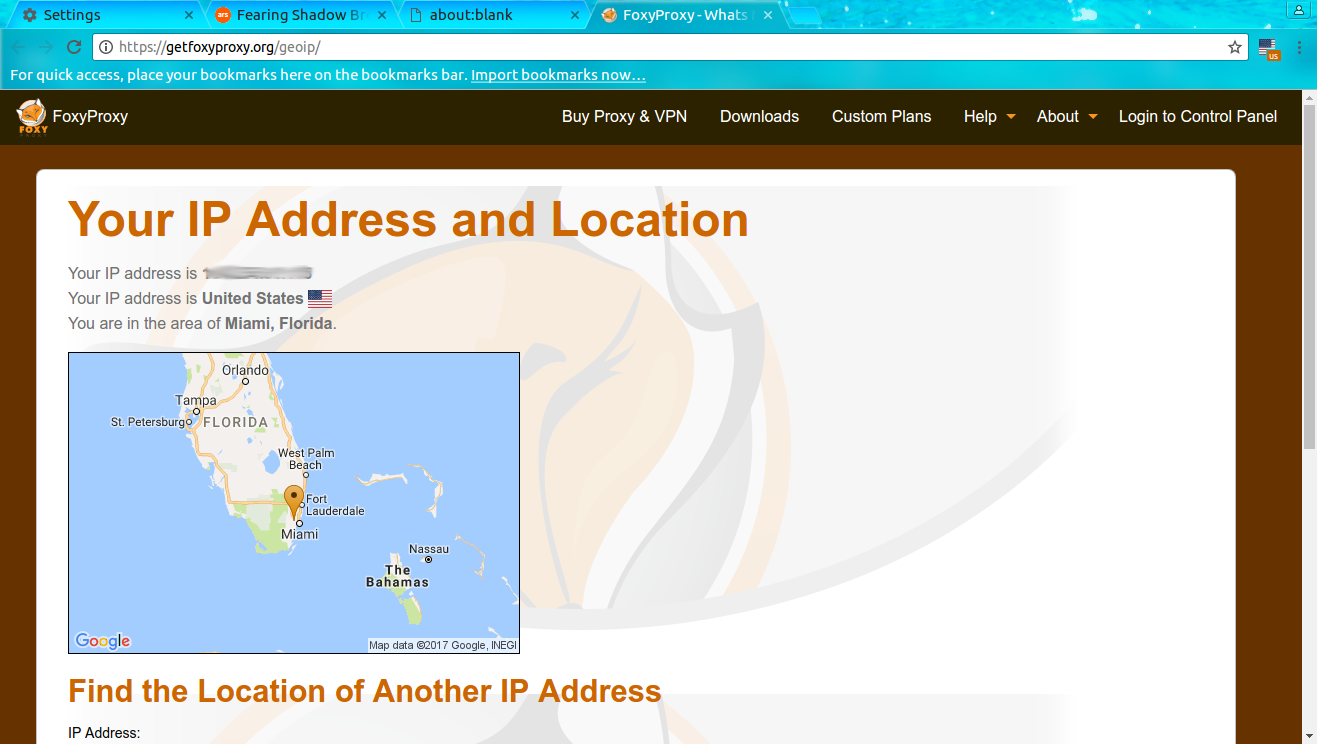
To check that your torrent IP address is anonymized, you can use a service like ipMagnet. ipMagnet allows you to download a torrent file in order to see which IP address uTorrent sends to peers and trackers.


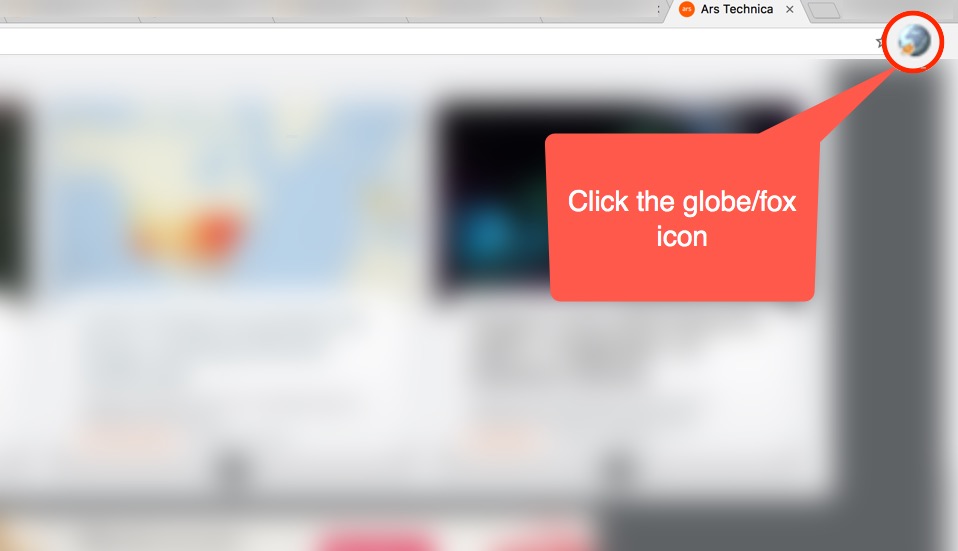
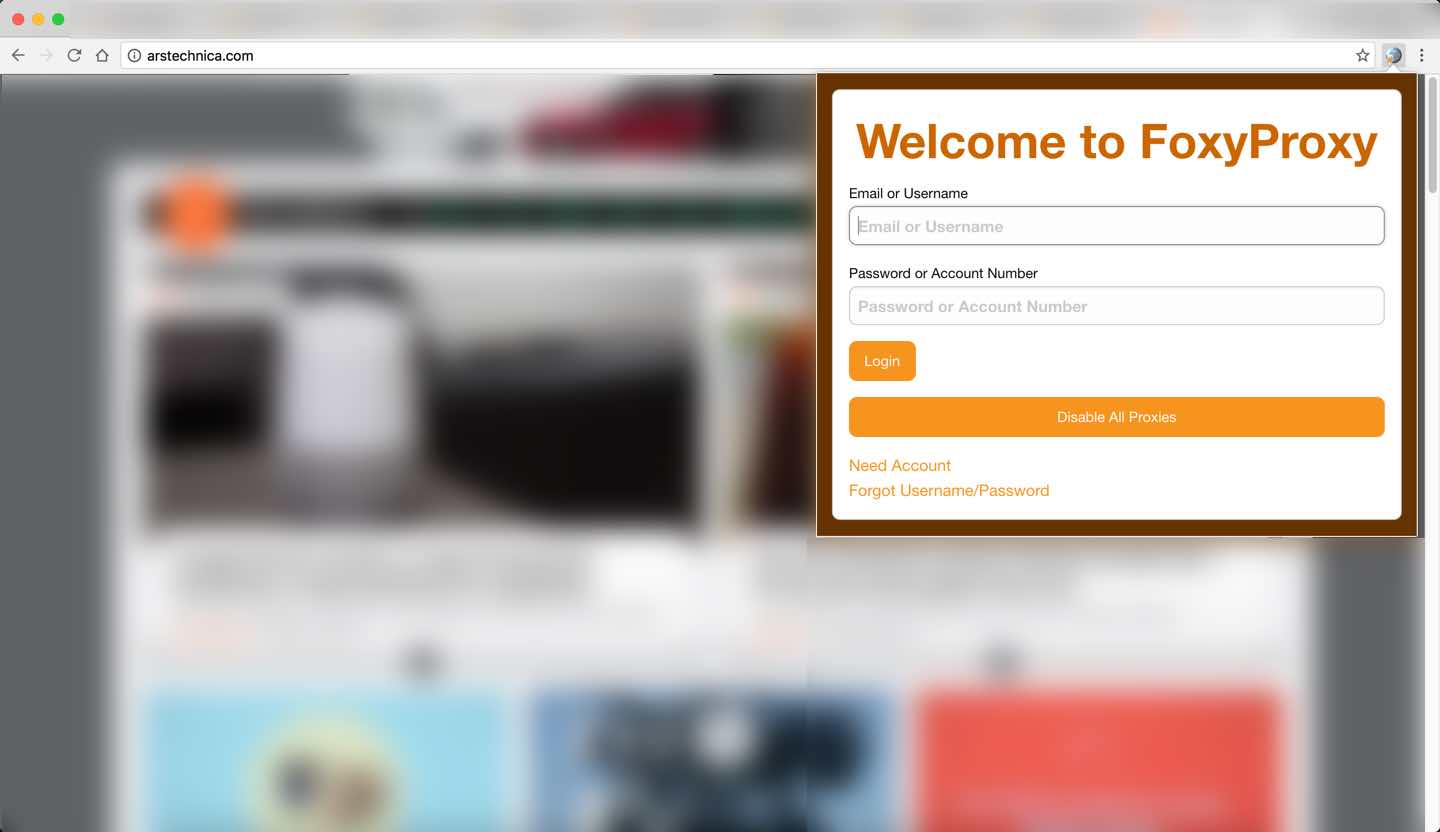
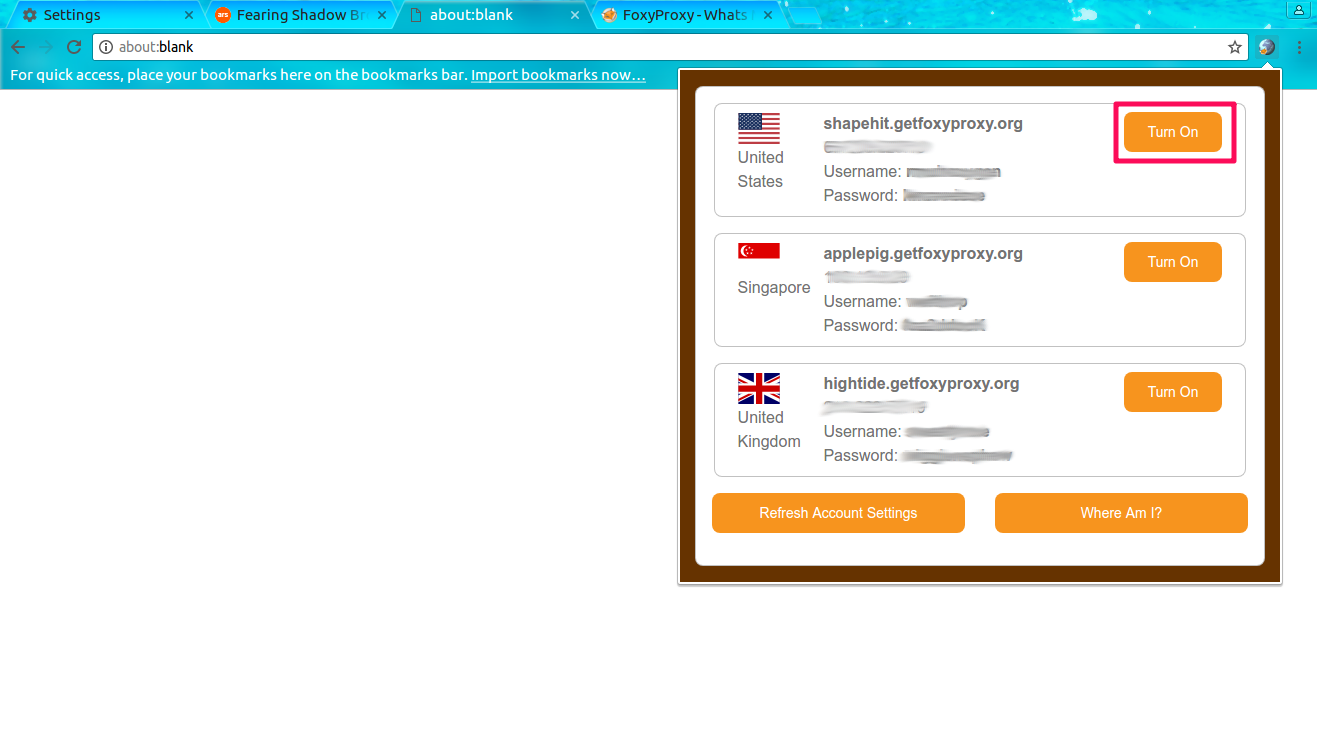
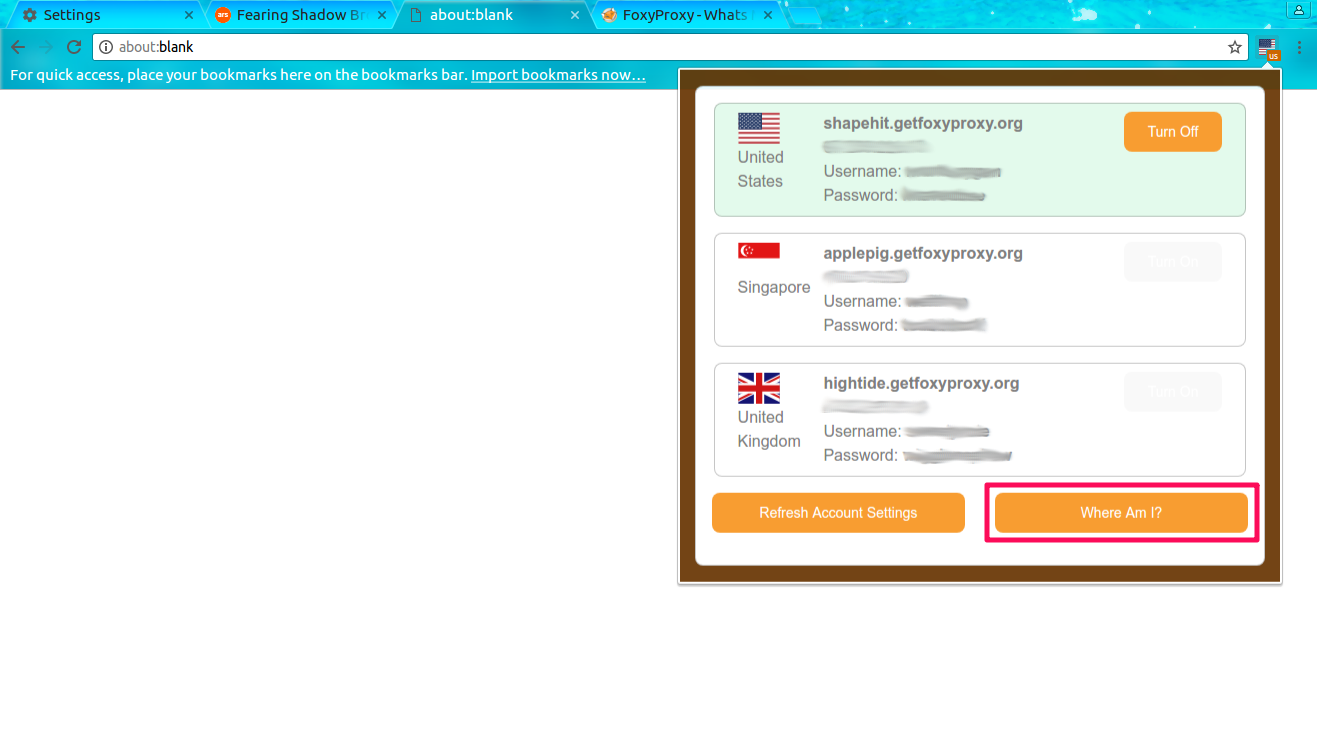


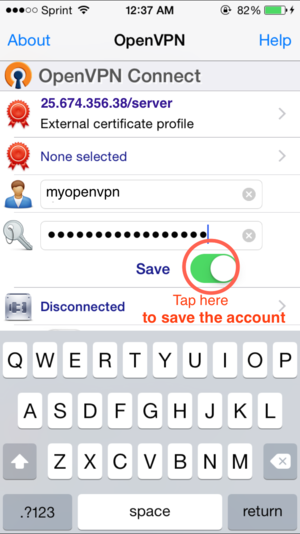
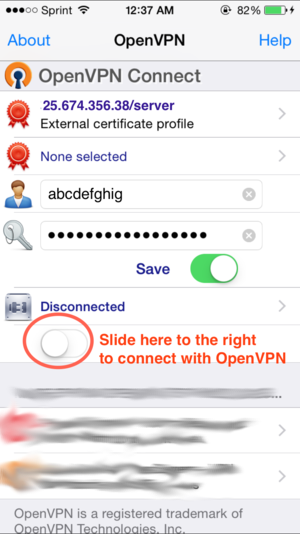


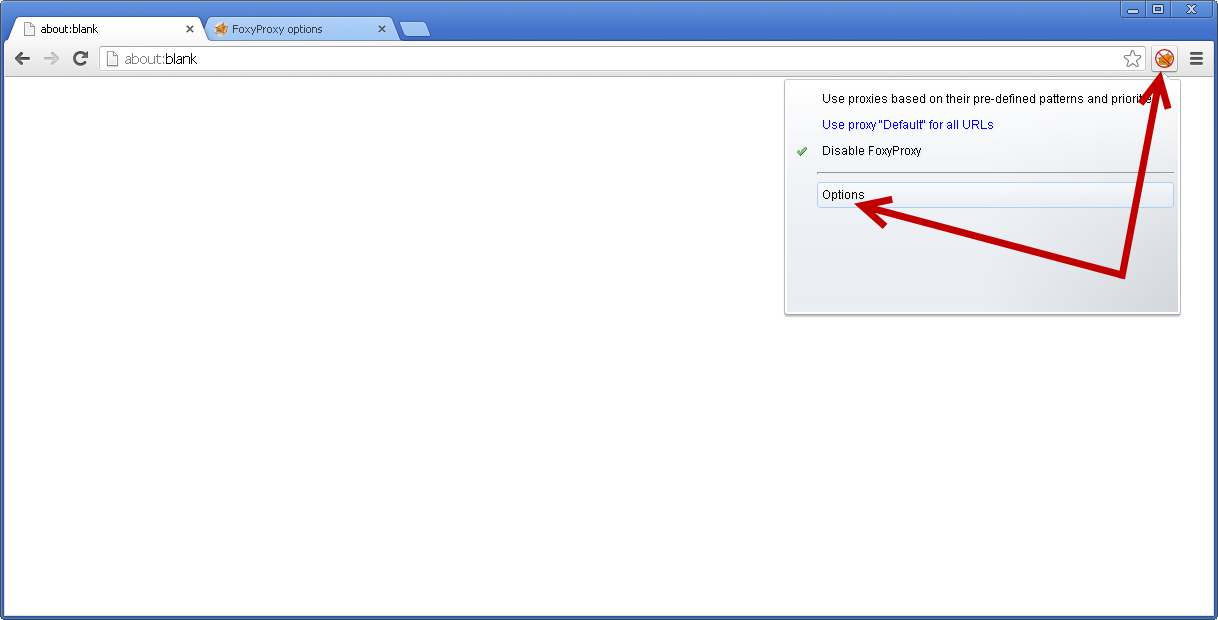
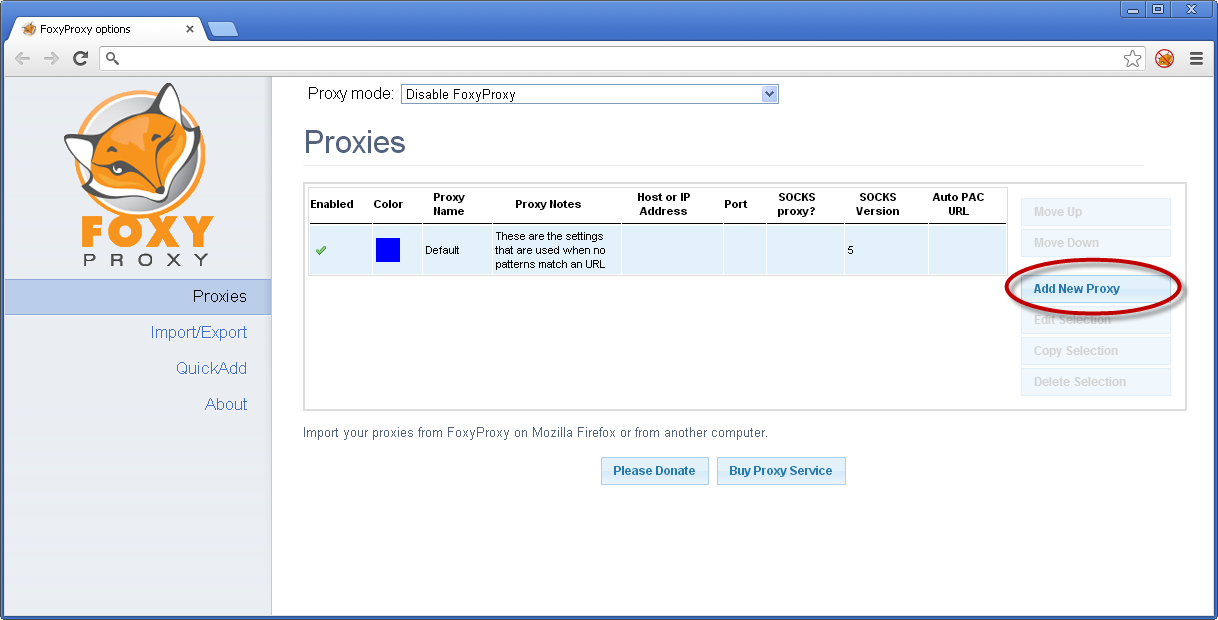
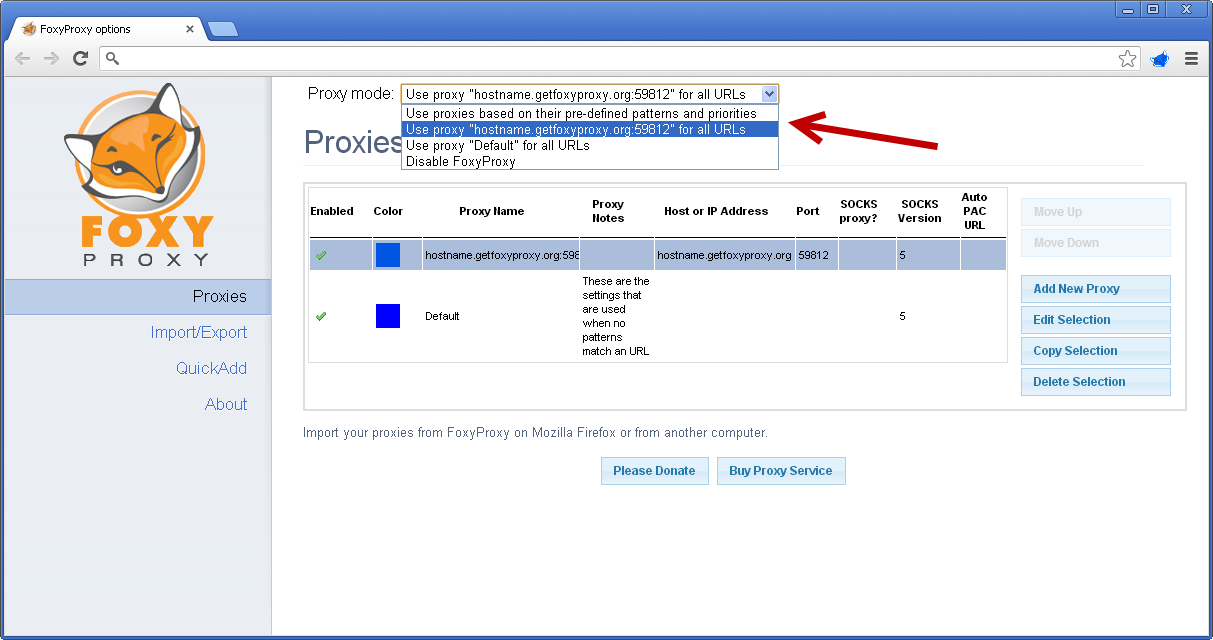
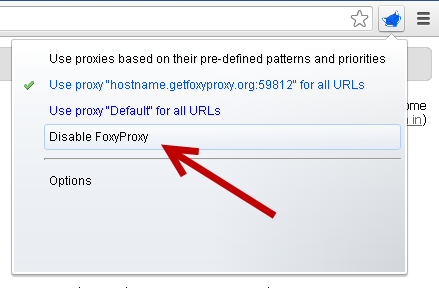
 Turning it on
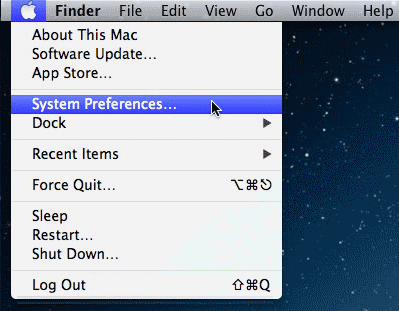

 Turning it on