Your FoxyProxy accounts come with both proxy and VPN service.
These instructions explain how to connect to your VPN accounts using a method called IPSec. This is the preferred means to connect to your VPN account. If this does not work, try connecting using the VPN Utility .
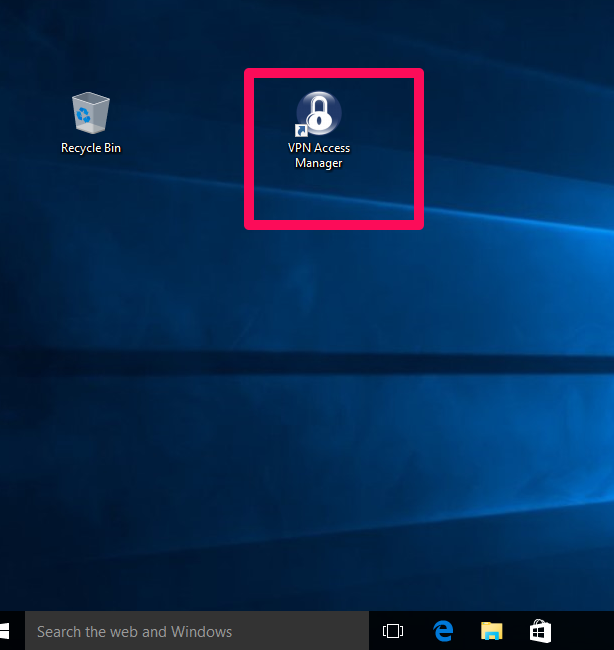
Step 1. Download and install the Shrewsoft IPSec VPN program here .After installation, you should see the VPN Access Manager Icon on your desktop. Double click it to launch the program.
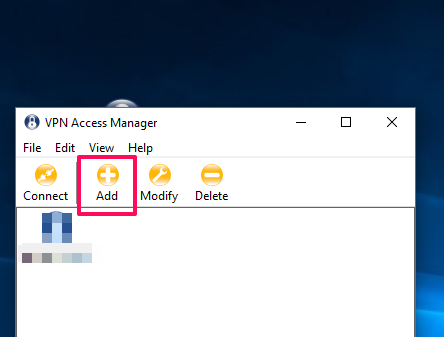
Step 2. Click the “Add” button to create a new connection.
Step 3. Enter VPN Settings
In the General Tab under Host Name or IP Address, enter your server name. The name of the server should be similar to “servername.getfoxyproxy.org”
Make sure that Auto Configuration is set to “ike configuration pull”

There is no need to change anything in the “Client” Tab. Leave the defaults as they are.
The same applies to the Name Resolution tab, the default settings will work.
Step 4.
In the “Authentication” tab, select Mutual PSK + XAuth as the Authentication Method and Key Identifier as the Identification Type.
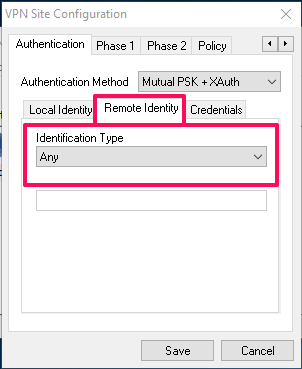
After selecting the Authentication Method and Identification Type, click on the Remote Identity sub-tab and under the Identification Type field, select Any
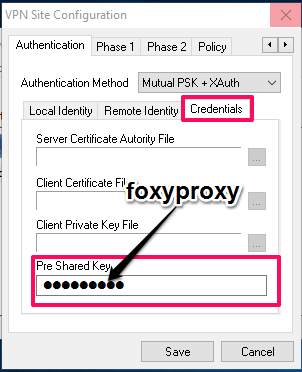
Next, click on the Credentials sub-tab. Type in foxyproxy in the Pre Shared Key box.
Step 5.
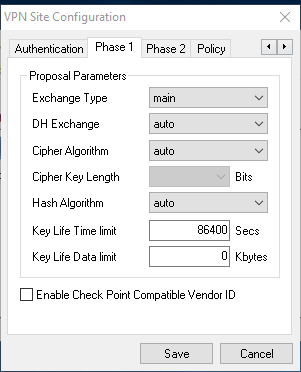
Click on the “Phase 1” Tab and set main as the Exchange Type and set everything else up according to the image below.
Step 6.
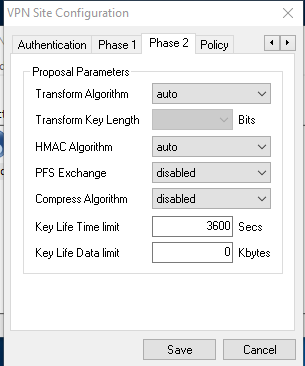
Setup the Phase 2 settings this way:
 Click save to save your configuration.
An error/warning about Address ID Types may pop up at this stage. It can be safely ignored.
Step 7
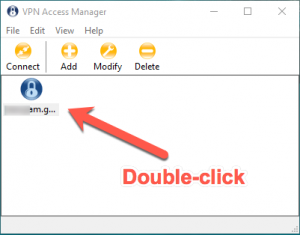
To connect to the VPN, double-click on the connection you created above:
Enter your username/password and click the connect button: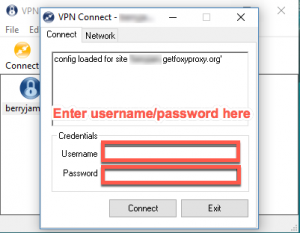
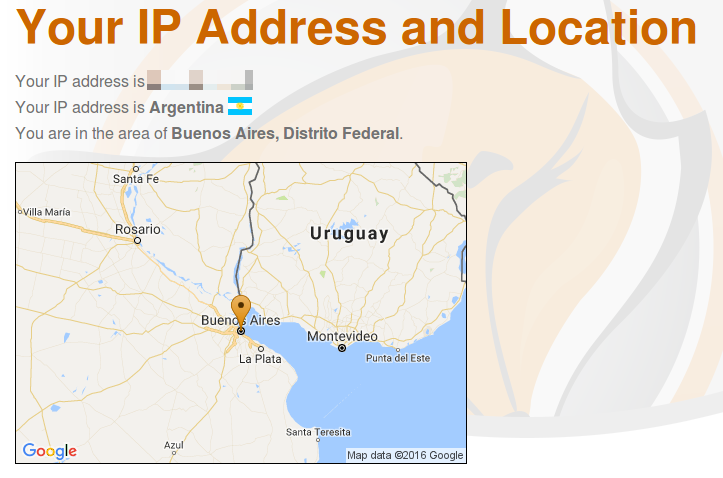
To confirm that everything is working, visit https://getfoxyproxy.org/geoip/ and ensure it says a different IP address from what you expect.
