Works with all Windows versions from Windows 10 to Windows XP.
Step 1. Download the VPN Utility
Download the FoxyProxy VPN Utility for Windows here. Advanced users only: A portable, zipped version without installer can be downloaded here.
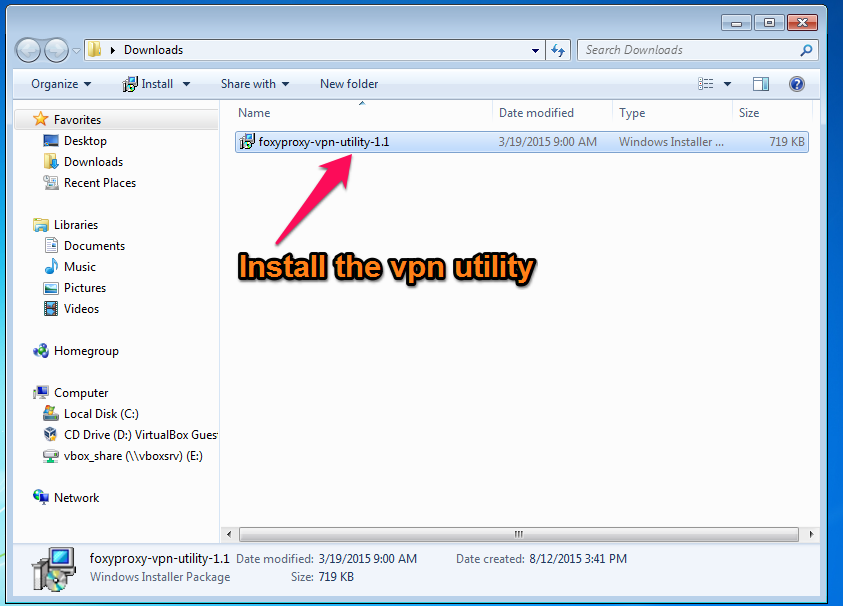
Step 2. Install the Utility
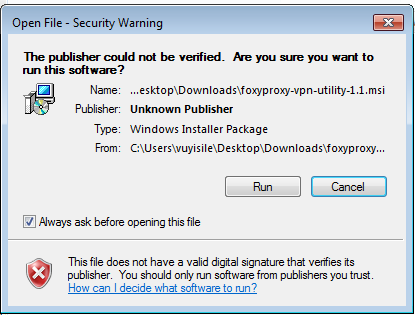
Step 3 Allow Windows to run the Installer
Click “Run” at the Security warning that comes up
Step 4. Confirm Installation
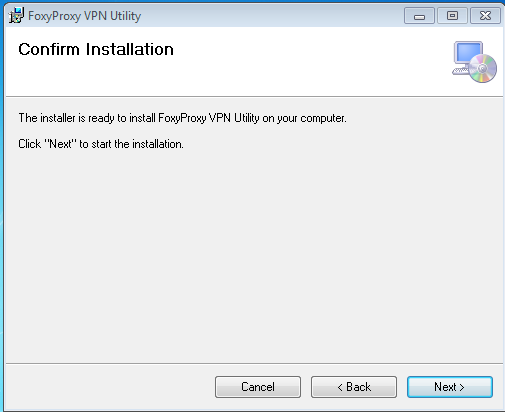
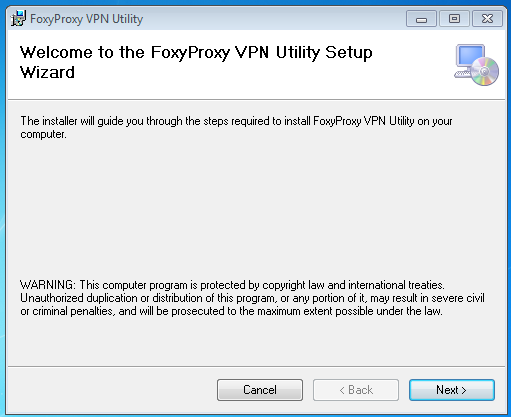
Step 5. Installation Wizard
This will launch the VPN Utility Setup Wizard. Click “Next”. The default options presented after this screen should work for most people.
Step 6. Run the Utility
Once installed, a VPN Utility icon will appear in your desktop or start menu. Double Click on the icon to start the VPN Utility.
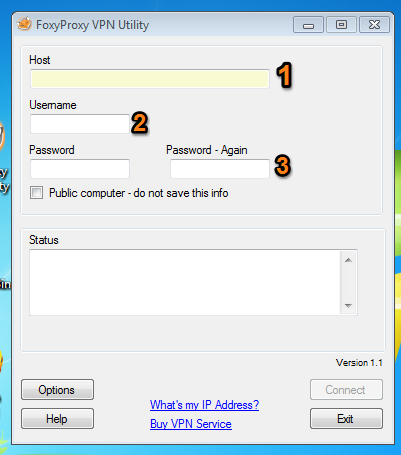
Step 7. Enter details
- Enter the hostname or IP address you received from FoxyProxy. You can also view this information in the Customer Panel.
- Enter your Username
- Enter your password twice
After entering your VPN details, click “Connect”
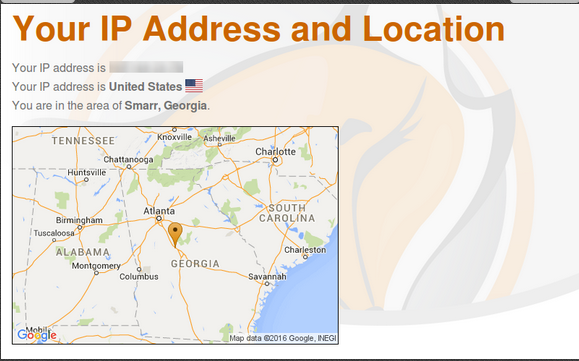
The VPN Utility will then automatically configure your Windows device to use your FoxyProxy VPN service. To confirm it’s working, visit https://getfoxyproxy.org/geoip and ensure it says a different location and IP address than you expect.
To disconnect, simply click the disconnect button in the VPN utility.
