To begin, download and install Viscosity.
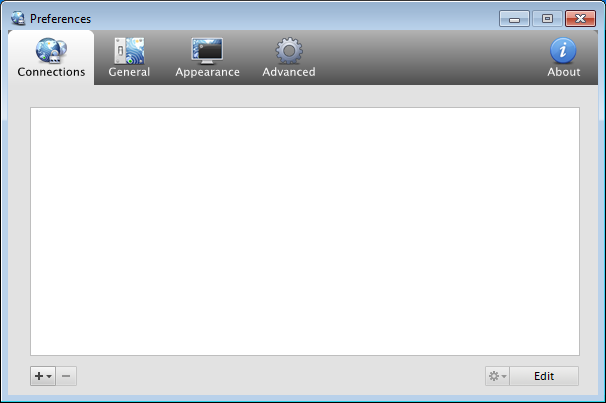
Step 1
Open Viscosity and then launch it’s preferences. Next, click on the “+” icon at the bottom of the preferences window.
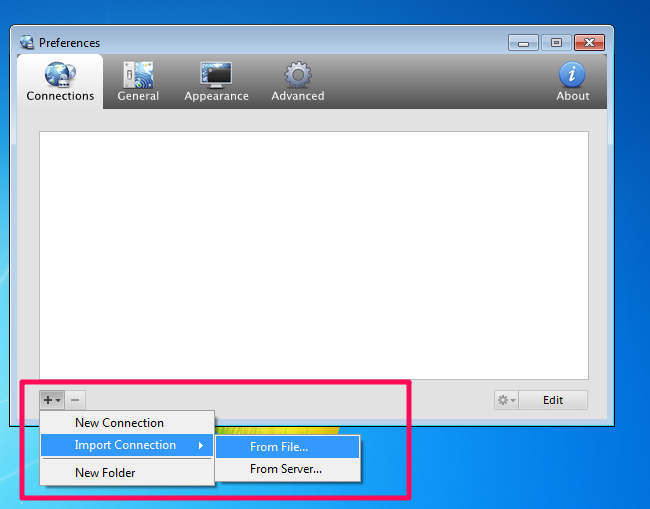
Step 2
Select the Import from File option.
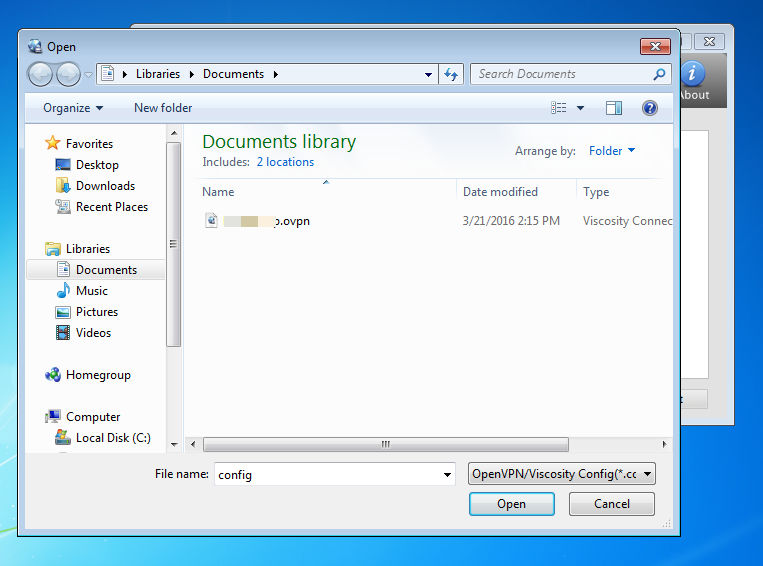
Step 3
From the File Selection Window, locate the ovpn file you downloaded from the Control Panel.
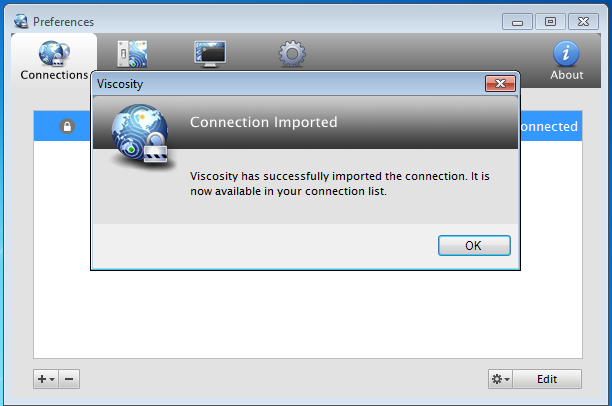
Step 4
Look for the “Connection Imported” window and click the OK button.
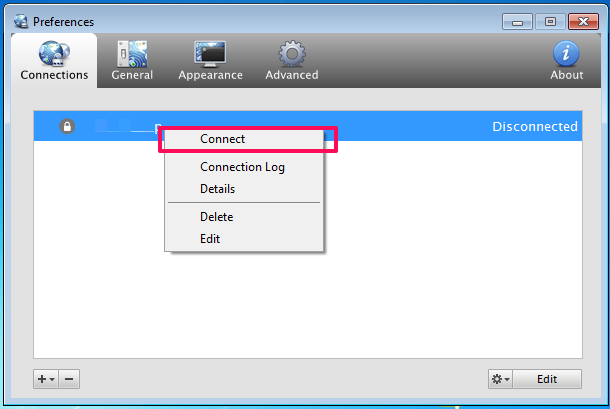
Step 5
You should now see the connection you created. Right click on it and select connect.
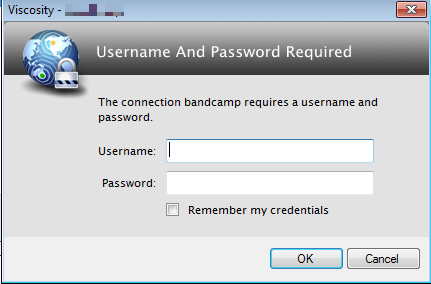
Step 6
Here you’re prompted for a username and password. Enter the Username and password that were delivered to your email address when you purchased your FoxyProxy Subscription. You can also retrieve them from the Control Panel. Copy and paste this information into the boxes and click the “Remember my credentials” box to avoid having to type the username and password ever again. Click “OK”. Viscosity will now connect to the FoxyProxy server.
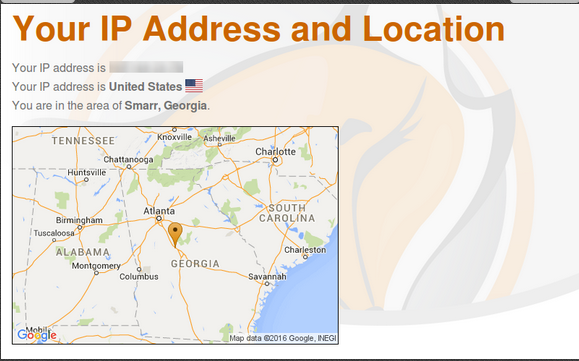
Step 7
You’ll see “<server name> connecting” in the Viscosity window. Wait for it to say “<server name> connected”. Ignore any popup message that says you’re connected with an IP of 10.x.x.x. To confirm it’s working, visit https://getfoxyproxy.org/geoip and ensure it says a different location and IP address than you expect.
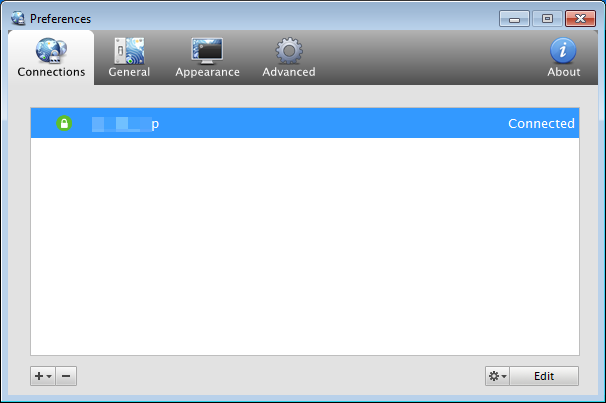
Step 8
If the connection was successful, you should now see “Connected” in the window.
Step 9 – Disconnecting
To disconnect, select the Viscosity taskbar icon and click the “Disconnect <your servername>”. You can confirm that you’re disconnected by again visiting https://getfoxyproxy.org/geoip. It should display your current, real location and IP address.
