Step 1: install the IPSec/IKEv2 client software
Open a terminal and type:
sudo apt install network-manager-strongswan libcharon-extra-pluginsType “Y” and enter to install.
If the strongswan package is installed, remove it because it interferes. Note: this may break non-FoxyProxy VPN configurations:
sudo apt remove strongswan
If you see “Package ‘strongswan’ is not installed, so not removed“, that is ok.
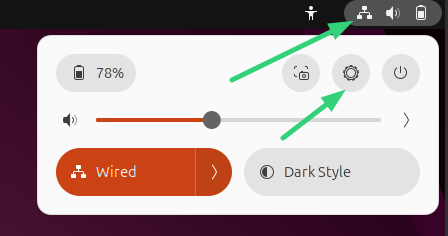
Step 2: Open Settings -> Network
There are several ways to do this. Here is one. Click the network icon in the taskbar, then the gear icon. See the green arrows in the screenshot. Network settings can also be opened from the desktop Show Apps icon and then searching for Settings.
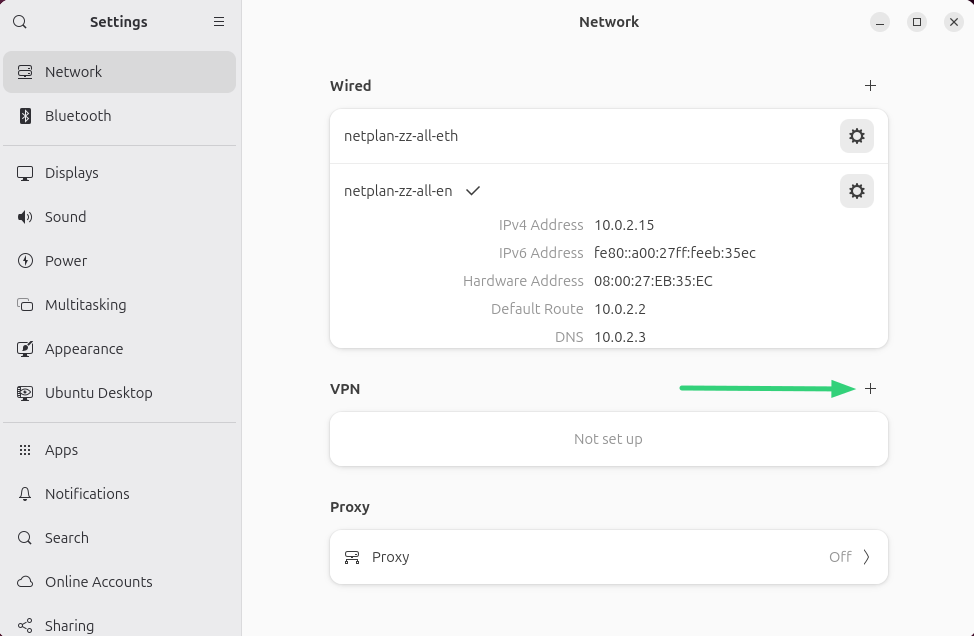
Step 3: Add a new VPN connection
Click the + symbol next to VPN:
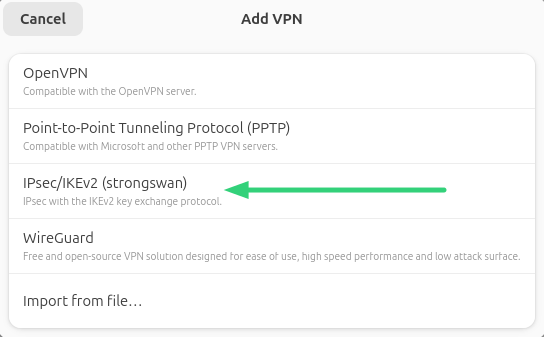
Select IPSec/IKEv2 (strongswan):
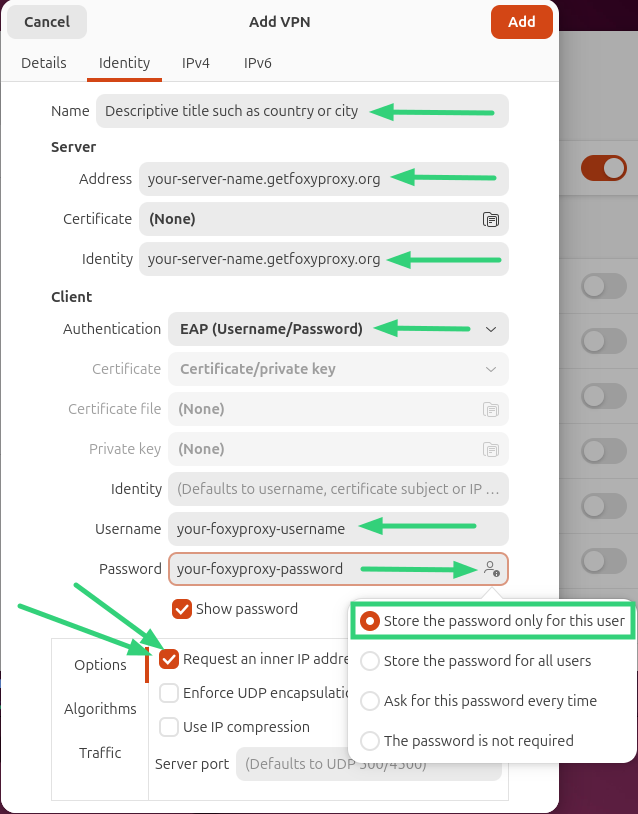
Step 4: Enter VPN info
Use the information below to enter the form details. Address, identity, username, and password will vary. Ensure address and identity are both your fully-quaified FoxyProxy server name. Click apply when finished.
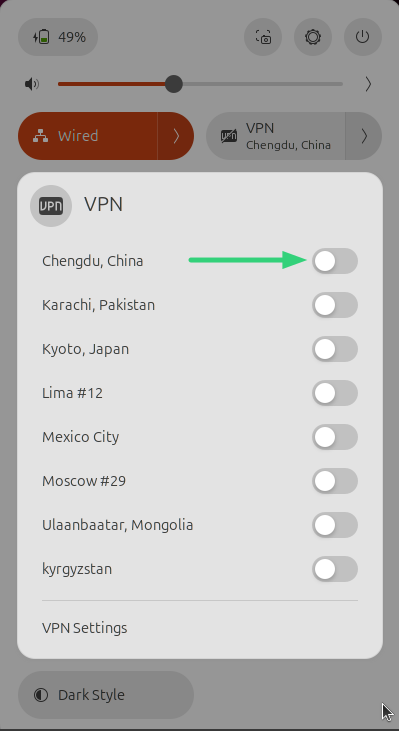
Step 5: Connect / Disconnect
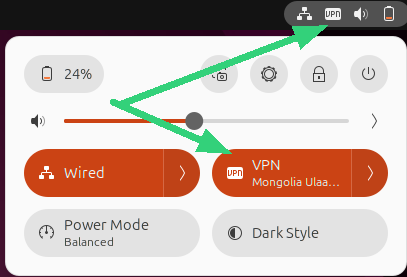
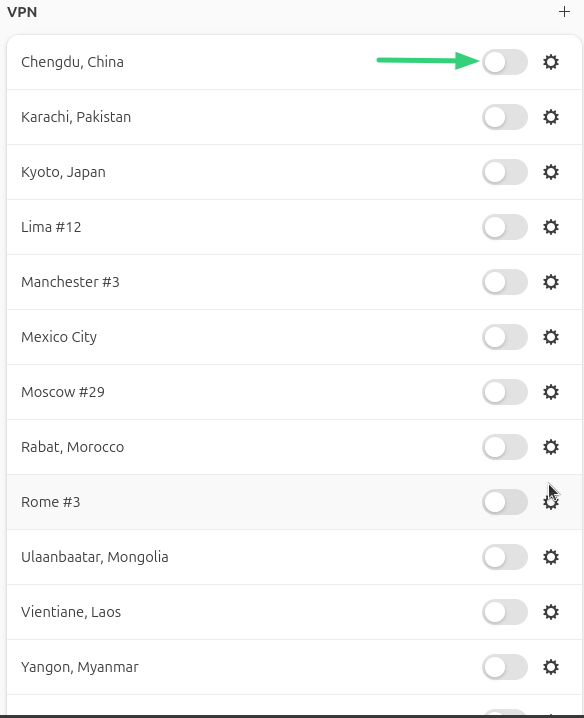
Connect or disconnect through the Network Settings screen or the network icon in the taskbar. Click the indicated button to connect or disconnect. If you have many servers, not all of them may appear in the taskbar list. However, the Network Settings screen shows all VPN servers:
Network Settings (complete list):
If the connection succeeds, look for the VPN icon in the task bar. You can click it to see which VPN connection is active: